This spoiler-free guide will walk you through the process of reaching every route in Steins;Gate: My Darling’s Embrace and reading through them in the optimal order.
If you are playing on Steam or PlayStation 4, you should also be able to unlock 100% of the game’s achievements/trophies by following this guide. If you need further guidance on achievement completion, be sure to read the Achievement Help section toward the end of this page.
Special thanks to Enorovan for putting together the original guide and providing permission for republication.
Table of Contents
GAME STRUCTURE
Like the original Steins;Gate visual novel, Steins;Gate: My Darling’s Embrace uses the “Phone Trigger” system. Throughout the game, Okabe will receive mail from various characters—this is indicated with a mail chime and a notification in the upper-left portion of the screen.
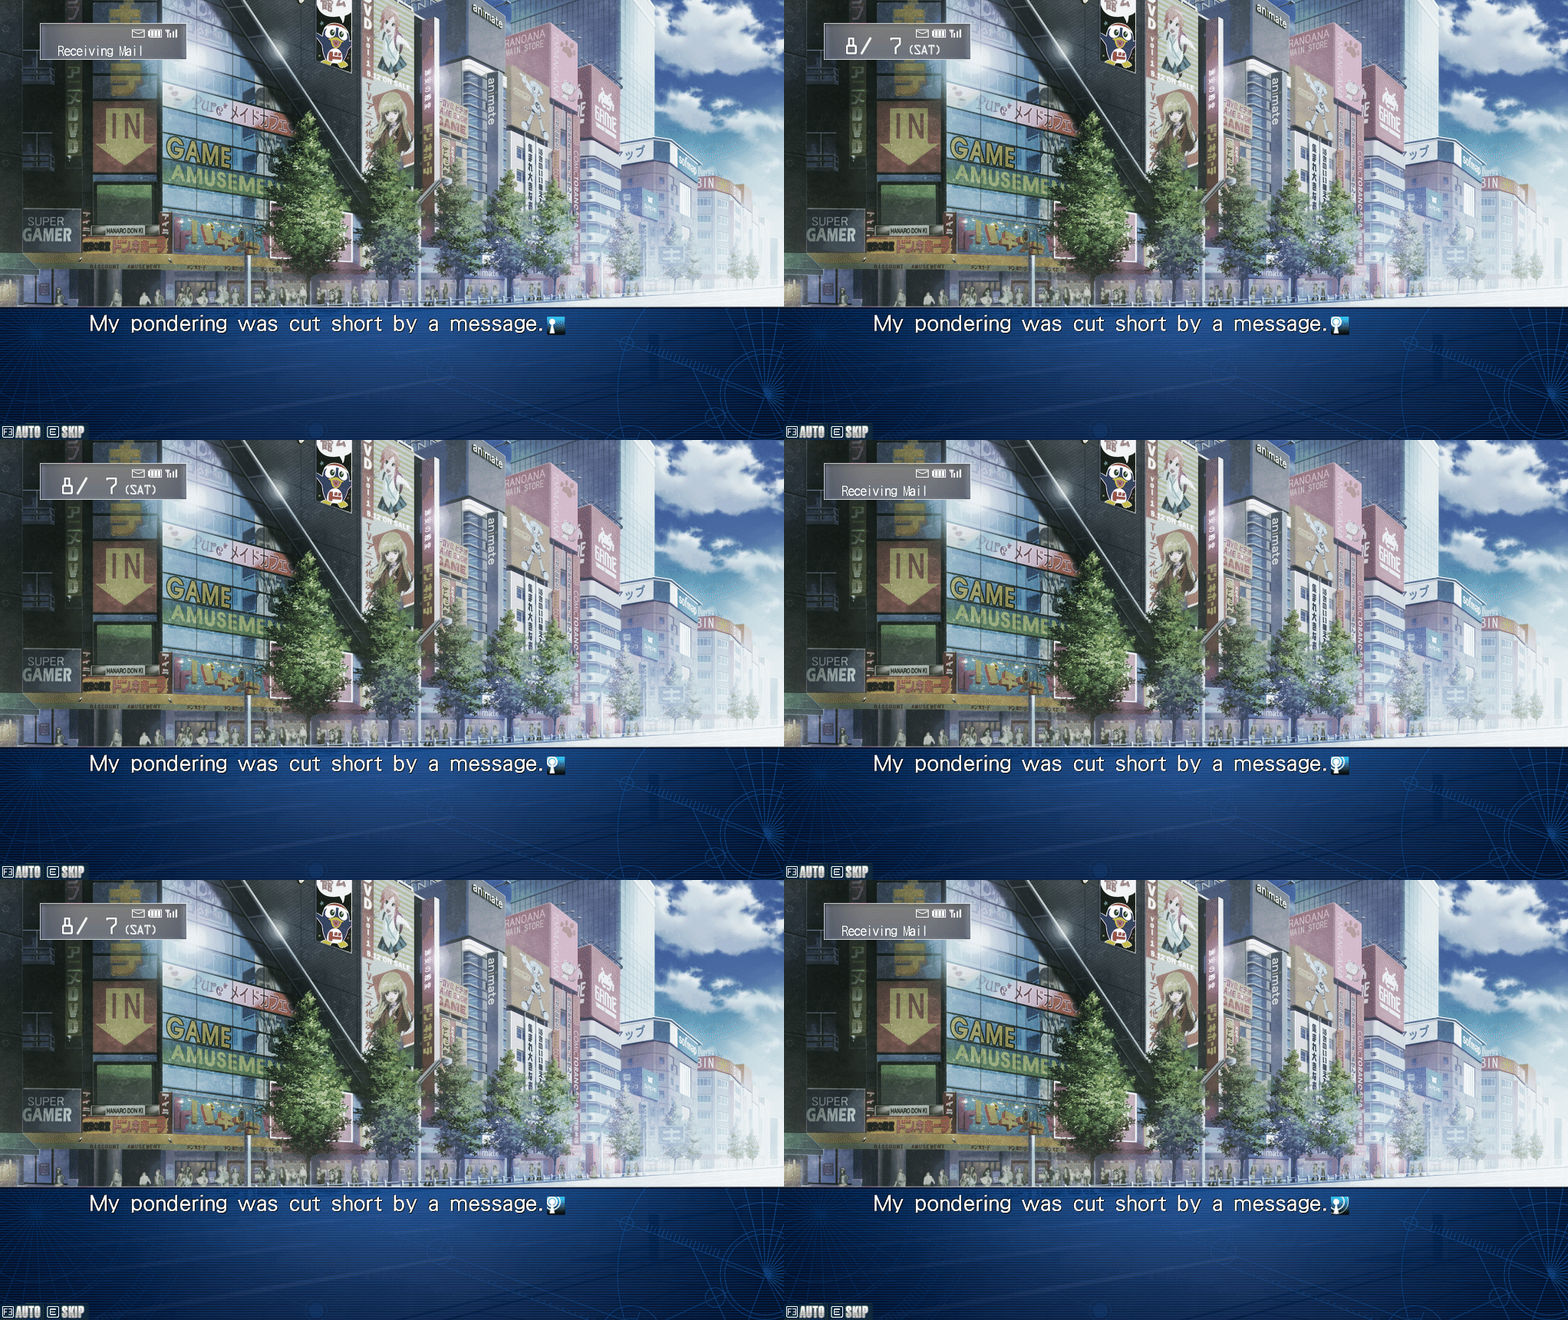
If you’re aiming for 100% achievement/trophy completion, we recommend you save your game every time multiple answers to a mail are available, lock the save you made, and use a new save slot for future game-saving. This will make it easier to get the “Lab ChuChu!” achievement/trophy down the line, which is awarded for reading every mail in the game. Do note that this process is not a requirement—though it will be slightly more tedious to get every mail later if you do not do this.
Okabe will also occasionally be given the option to send a D-Mail. You will likely be able to understand, based on the context of the plot, when Okabe has this choice. However, this will also be indicated with an icon of an antenna at the end of a line of text.
ROUTE 1: Resonance It Repeats
On August 7, when prompted to, open your phone, navigate to your contacts list, and choose the only contact that the game allows you to.
After this, proceed not to send a D-Mail anytime the game asks you to and you’ll branch into this route.
ROUTE 2: Dawn Dawn Ratio
On August 7, when prompted to, open your phone, navigate to your contacts list, and choose the only contact the game allows you to.
After this, send the D-Mail as soon as you can.
ROUTE 3: Heavens Nehushtan
On August 7, when prompted to, open your phone, navigate to your contacts list, and choose the only contact the game allows you to.
After this, ignore the prompts to send the D-Mail one time before sending it.
ROUTE 4: Fugue of Ruin End
On August 7, when prompted to, open your phone, navigate to your contacts list, and choose the only contact that the game allows you to.
After this, ignore the prompts to send the D-Mail three times before sending it.
ROUTE 5: Synergy of Love
On August 7, when prompted to, open your phone, navigate to your contacts list, and choose the only contact the game allows you to.
After this, ignore the prompts to send the D-Mail two times before sending it.
ROUTE 6: Stardust Duplet
Start a new game and engage automatic skip mode. Be sure you are not using the manual skip mode—you should not have to hold down a button to skip. Rather, you should only have to press a button one time, after which the game will automatically skip through text that you have already read.
It’s important that you don’t reply to any mail received before August 6 at 14:10 unless the game forces you to.
On August 6, reply to the mail received at 14:10 with the first option.
Do not reply to any mail that isn’t from the character that sent you the mail mentioned above unless this guide says otherwise.
On August 6, reply to the mail received at 14:42 with the second option.
On August 6, reply to the mail received at 15:08.
On August 6, read, but don’t reply to the mail received at 15:29.
On August 6, reply to the mail received at 21:39 with the second option.
On August 6, reply to the mail received at 21:48.
On August 6, open the attachment in the mail received at 22:13. If you’re on the right track, a certain place is mentioned in the mail’s text. No place is mentioned at all if you aren’t on the right track.
After this, continue skipping through the game.
On August 7, when prompted to, open your phone, navigate to your contacts list, and choose the only contact the game allows you to.
After this, send the mail after not opening your phone when asked to three times.
ACHIEVEMENT HELP
- To get the “First Sound Return” achievement, change Okabe’s ringtone at least once. To get the “Projection Vision Return” achievement, change his wallpaper at least once.
- To get the “Forgetful Message Return” achievement, you need to clear the game with at least one mail left unopened. If you already beat the game without getting this achievement, you can load an old save/quick save and skip to an ending while leaving one or more messages unread.
- “Seeker of History,” “Seeker of Art,” “Seeker of Video,” and “Seeker of Sound” require you to open the Clear List, CG Library, Movie Library, and Sound Library respectively at least once from the main menu.
- Many of the achievements require to you to read specific mail from the characters, and eventually, one achievement will require you to read all of the mail in the game. The in-game Mail List menu is a straightforward way to track down every mail in the game, and we highly recommend using it to simplify the process.
- After you have read every mail throughout the story, start the game anew one last time and wait until Okabe’s monologue ends. You should have a new mail in your inbox—open it for a prize, as well as the “Lab ChuChu!” achievement.
- To get the “Odin of Extensive Observation” achievement, you need to read every TIP in the TIPS menu.
